
In this exercise, the axes of three simple forms are explored. The study includes tilted axis, curved axis, and bent axis. Clay sketches are used before the final plaster material in order to explore completely the many possibilities to incorporate the axes into the form.
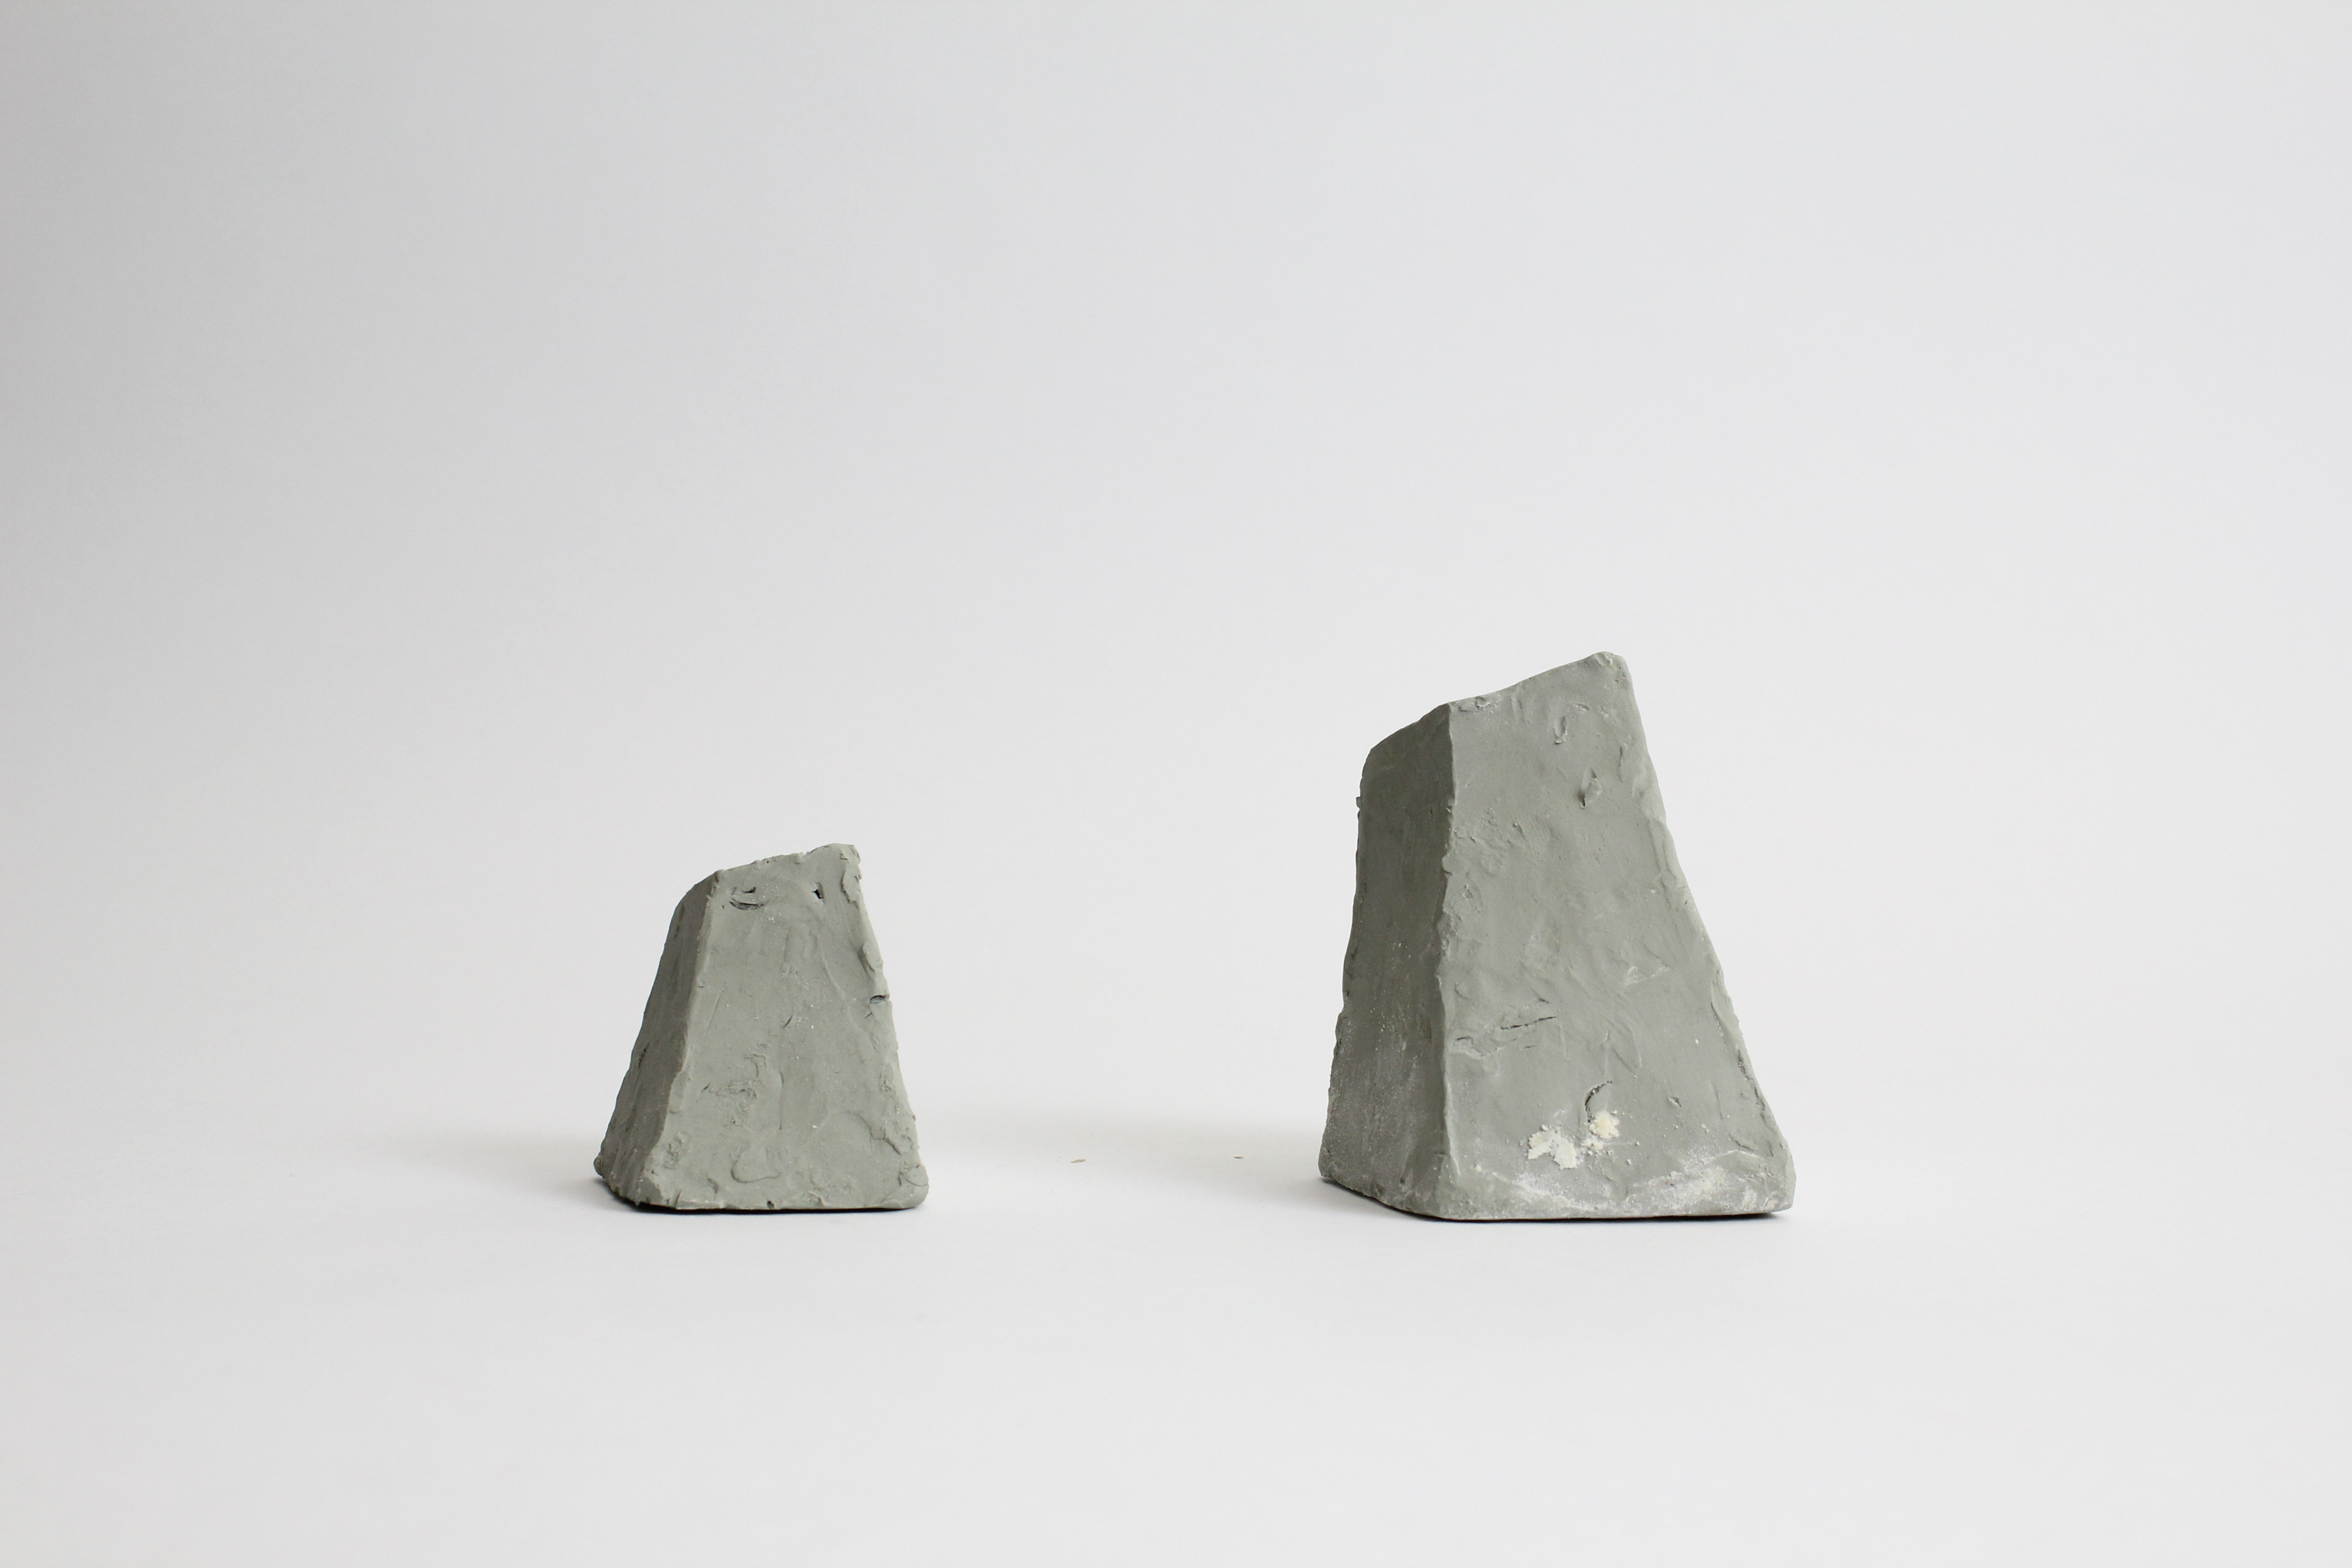
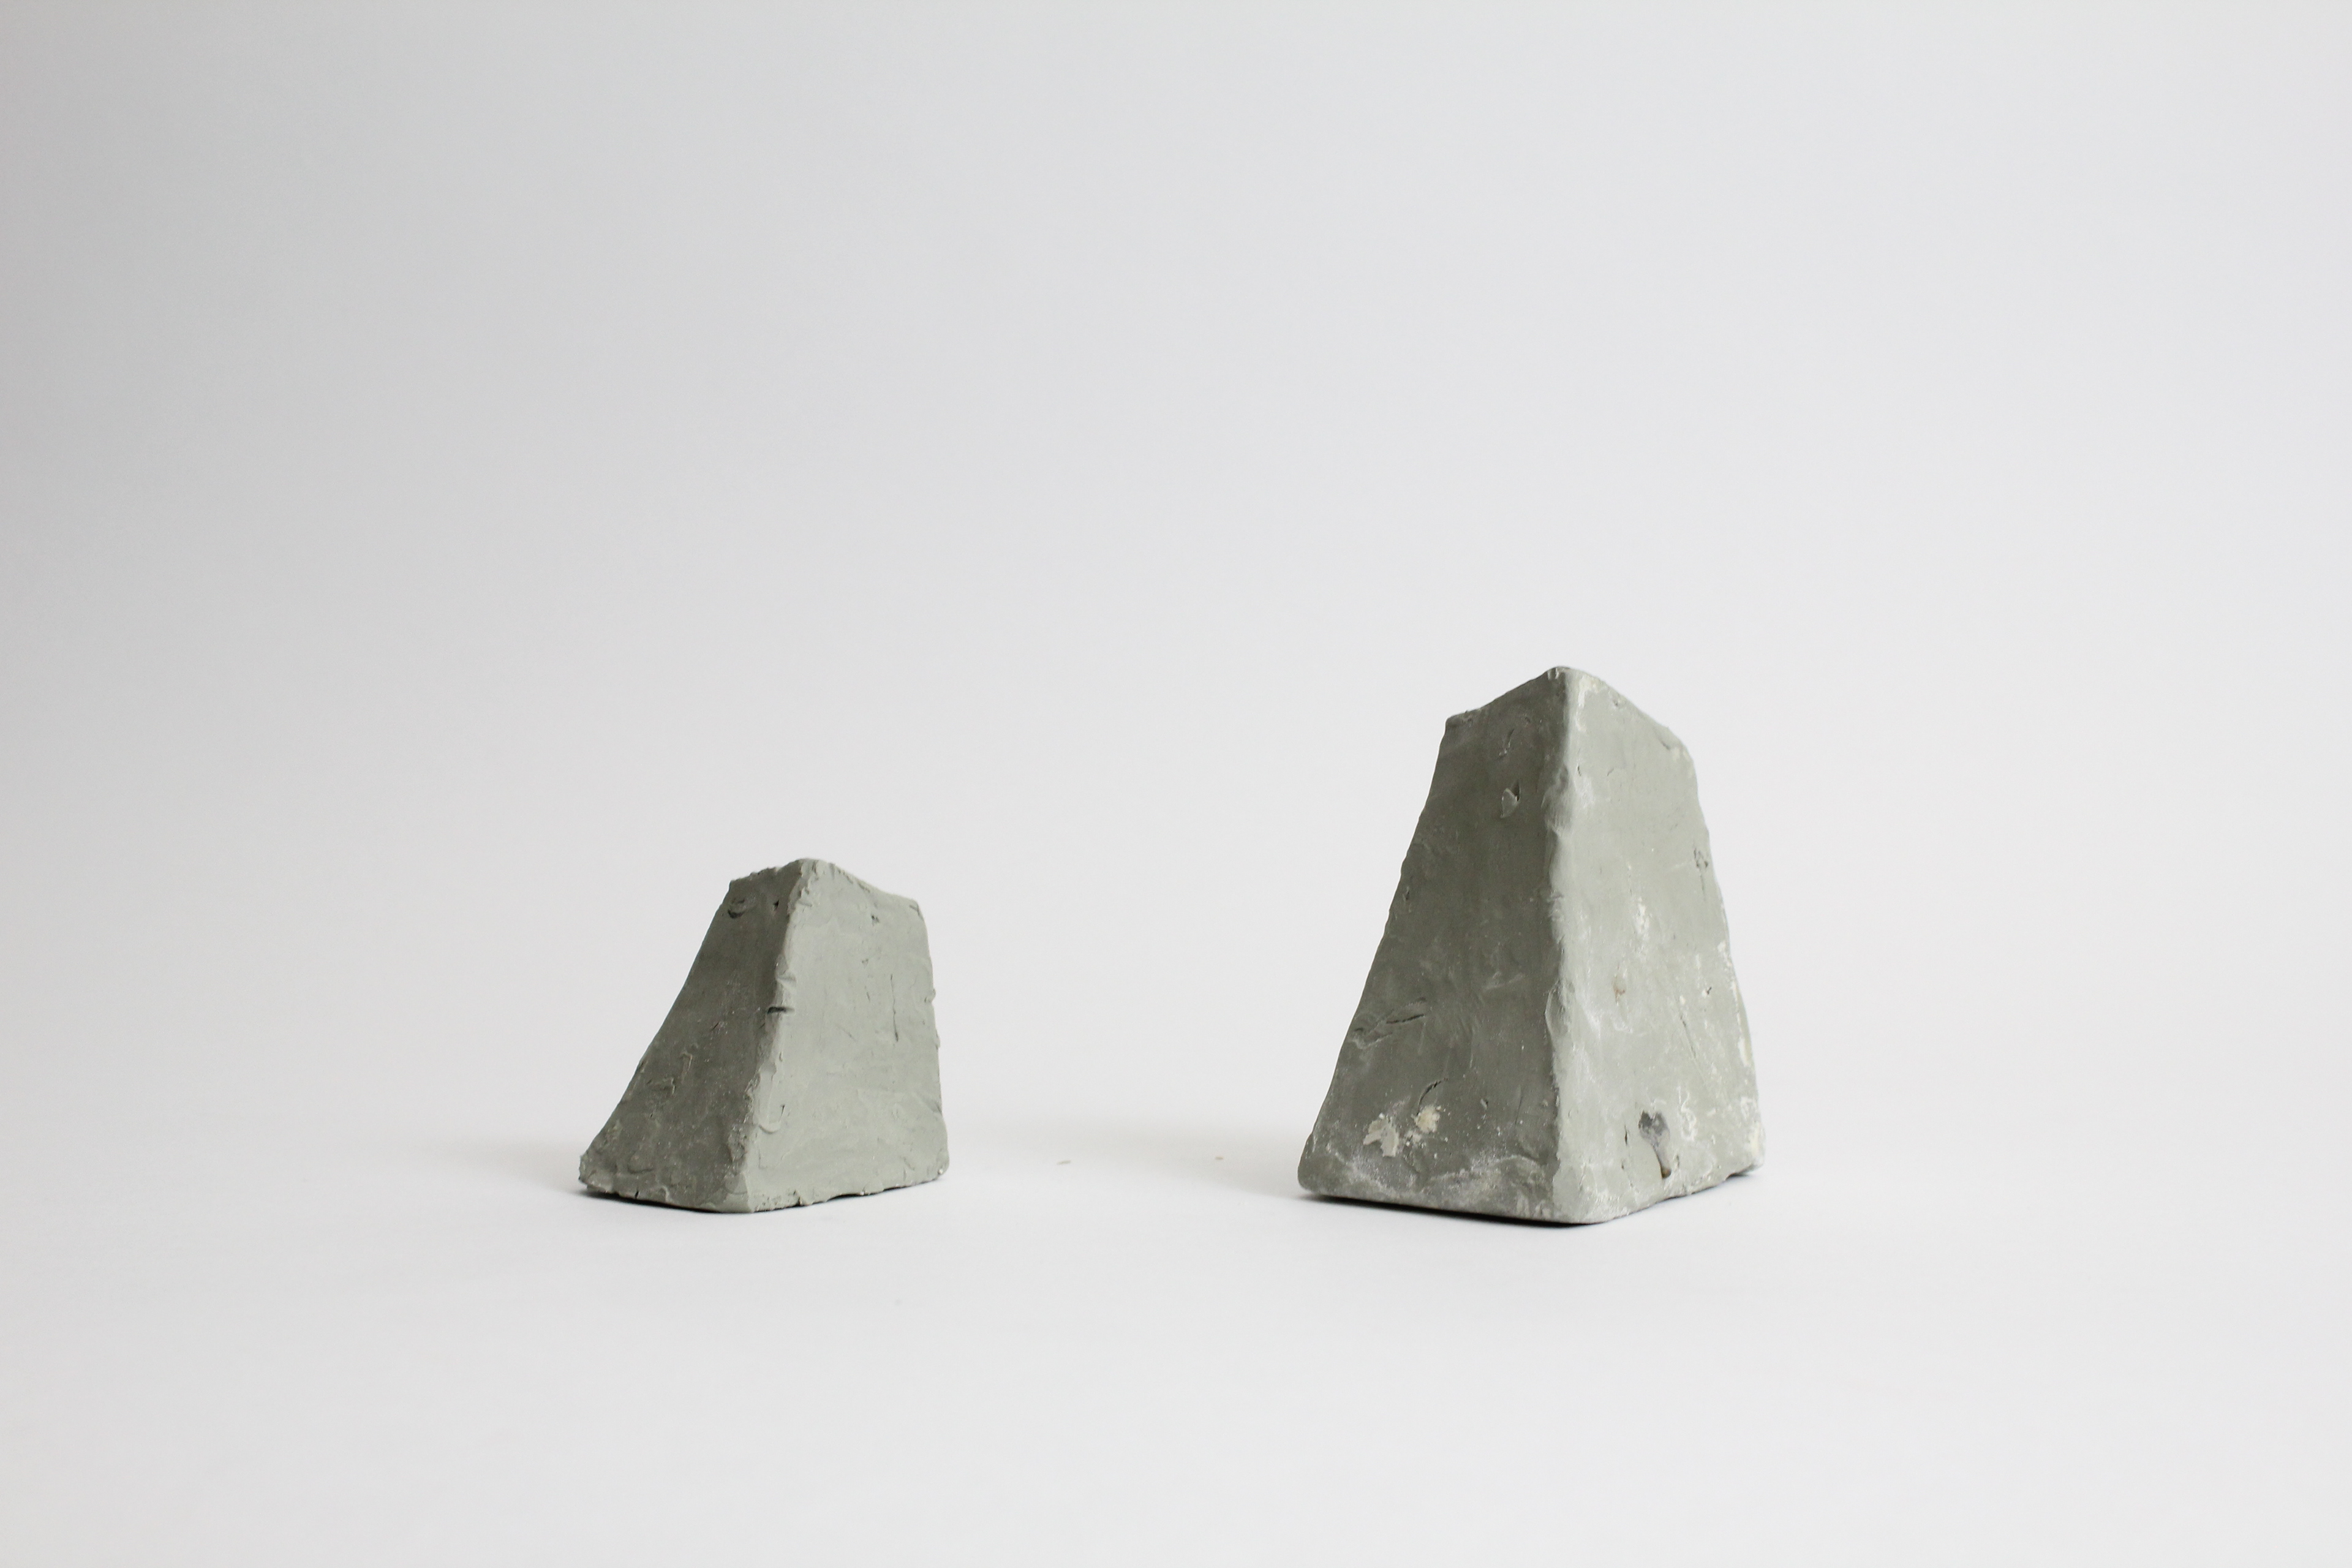
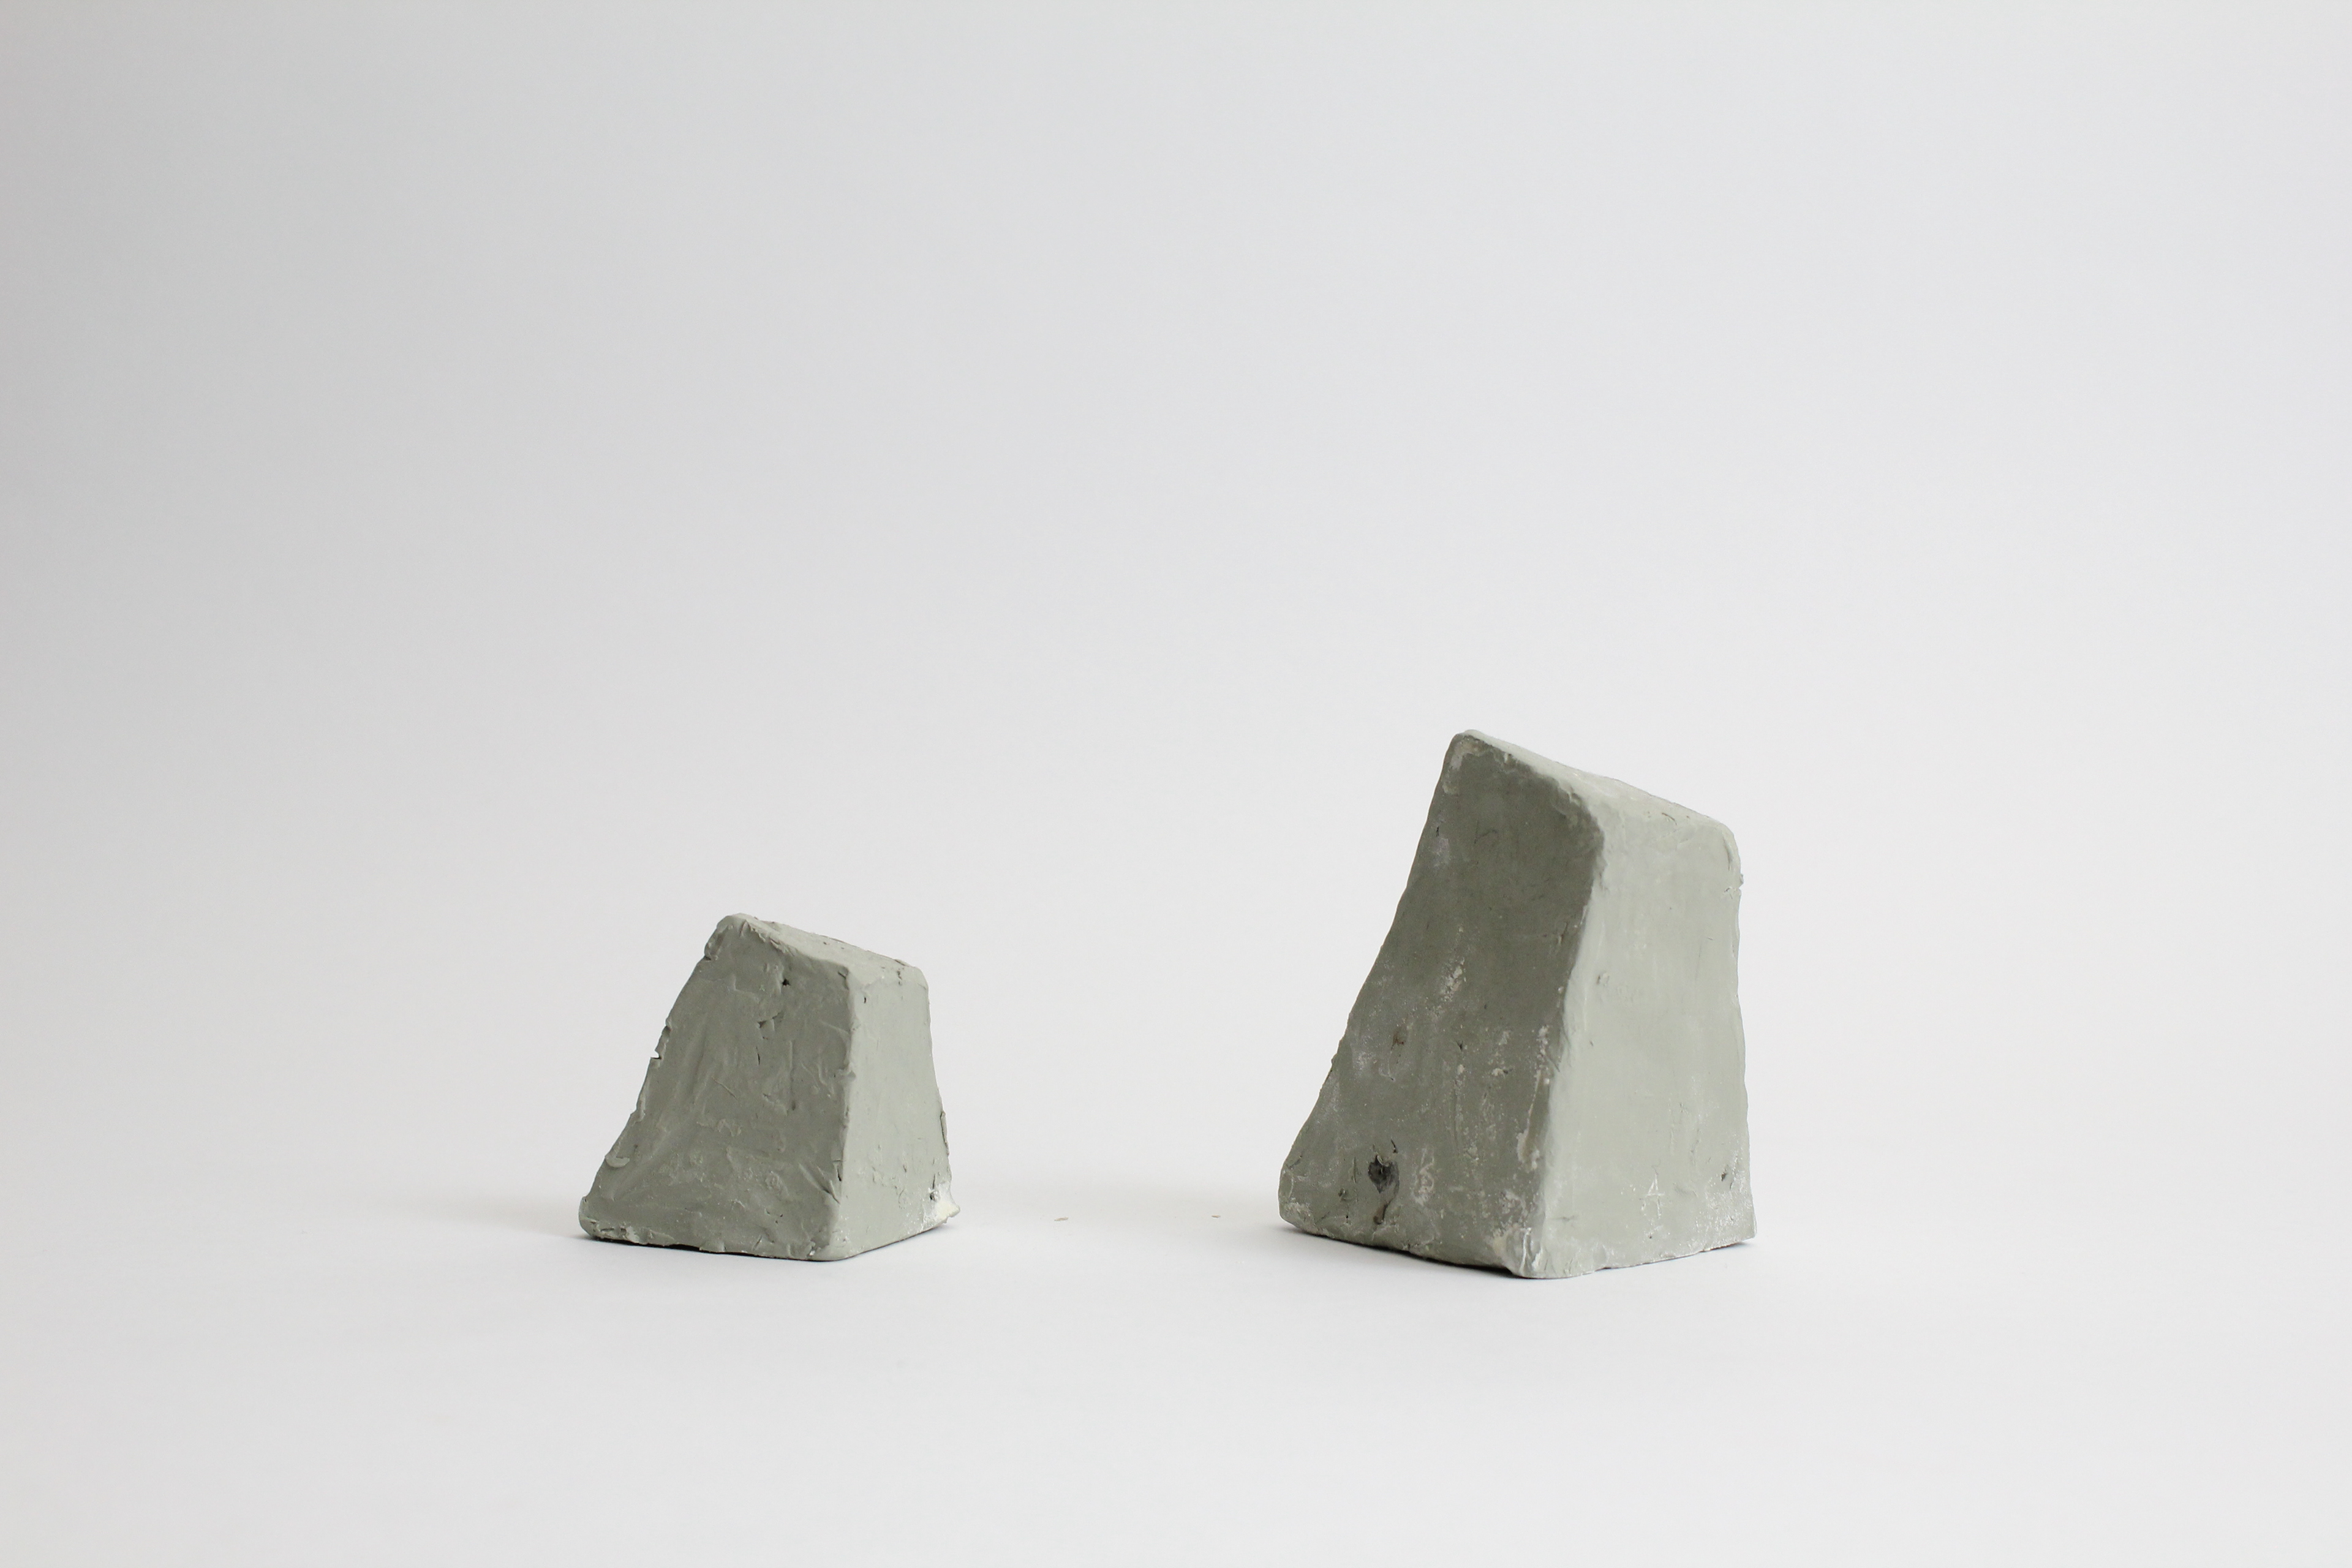
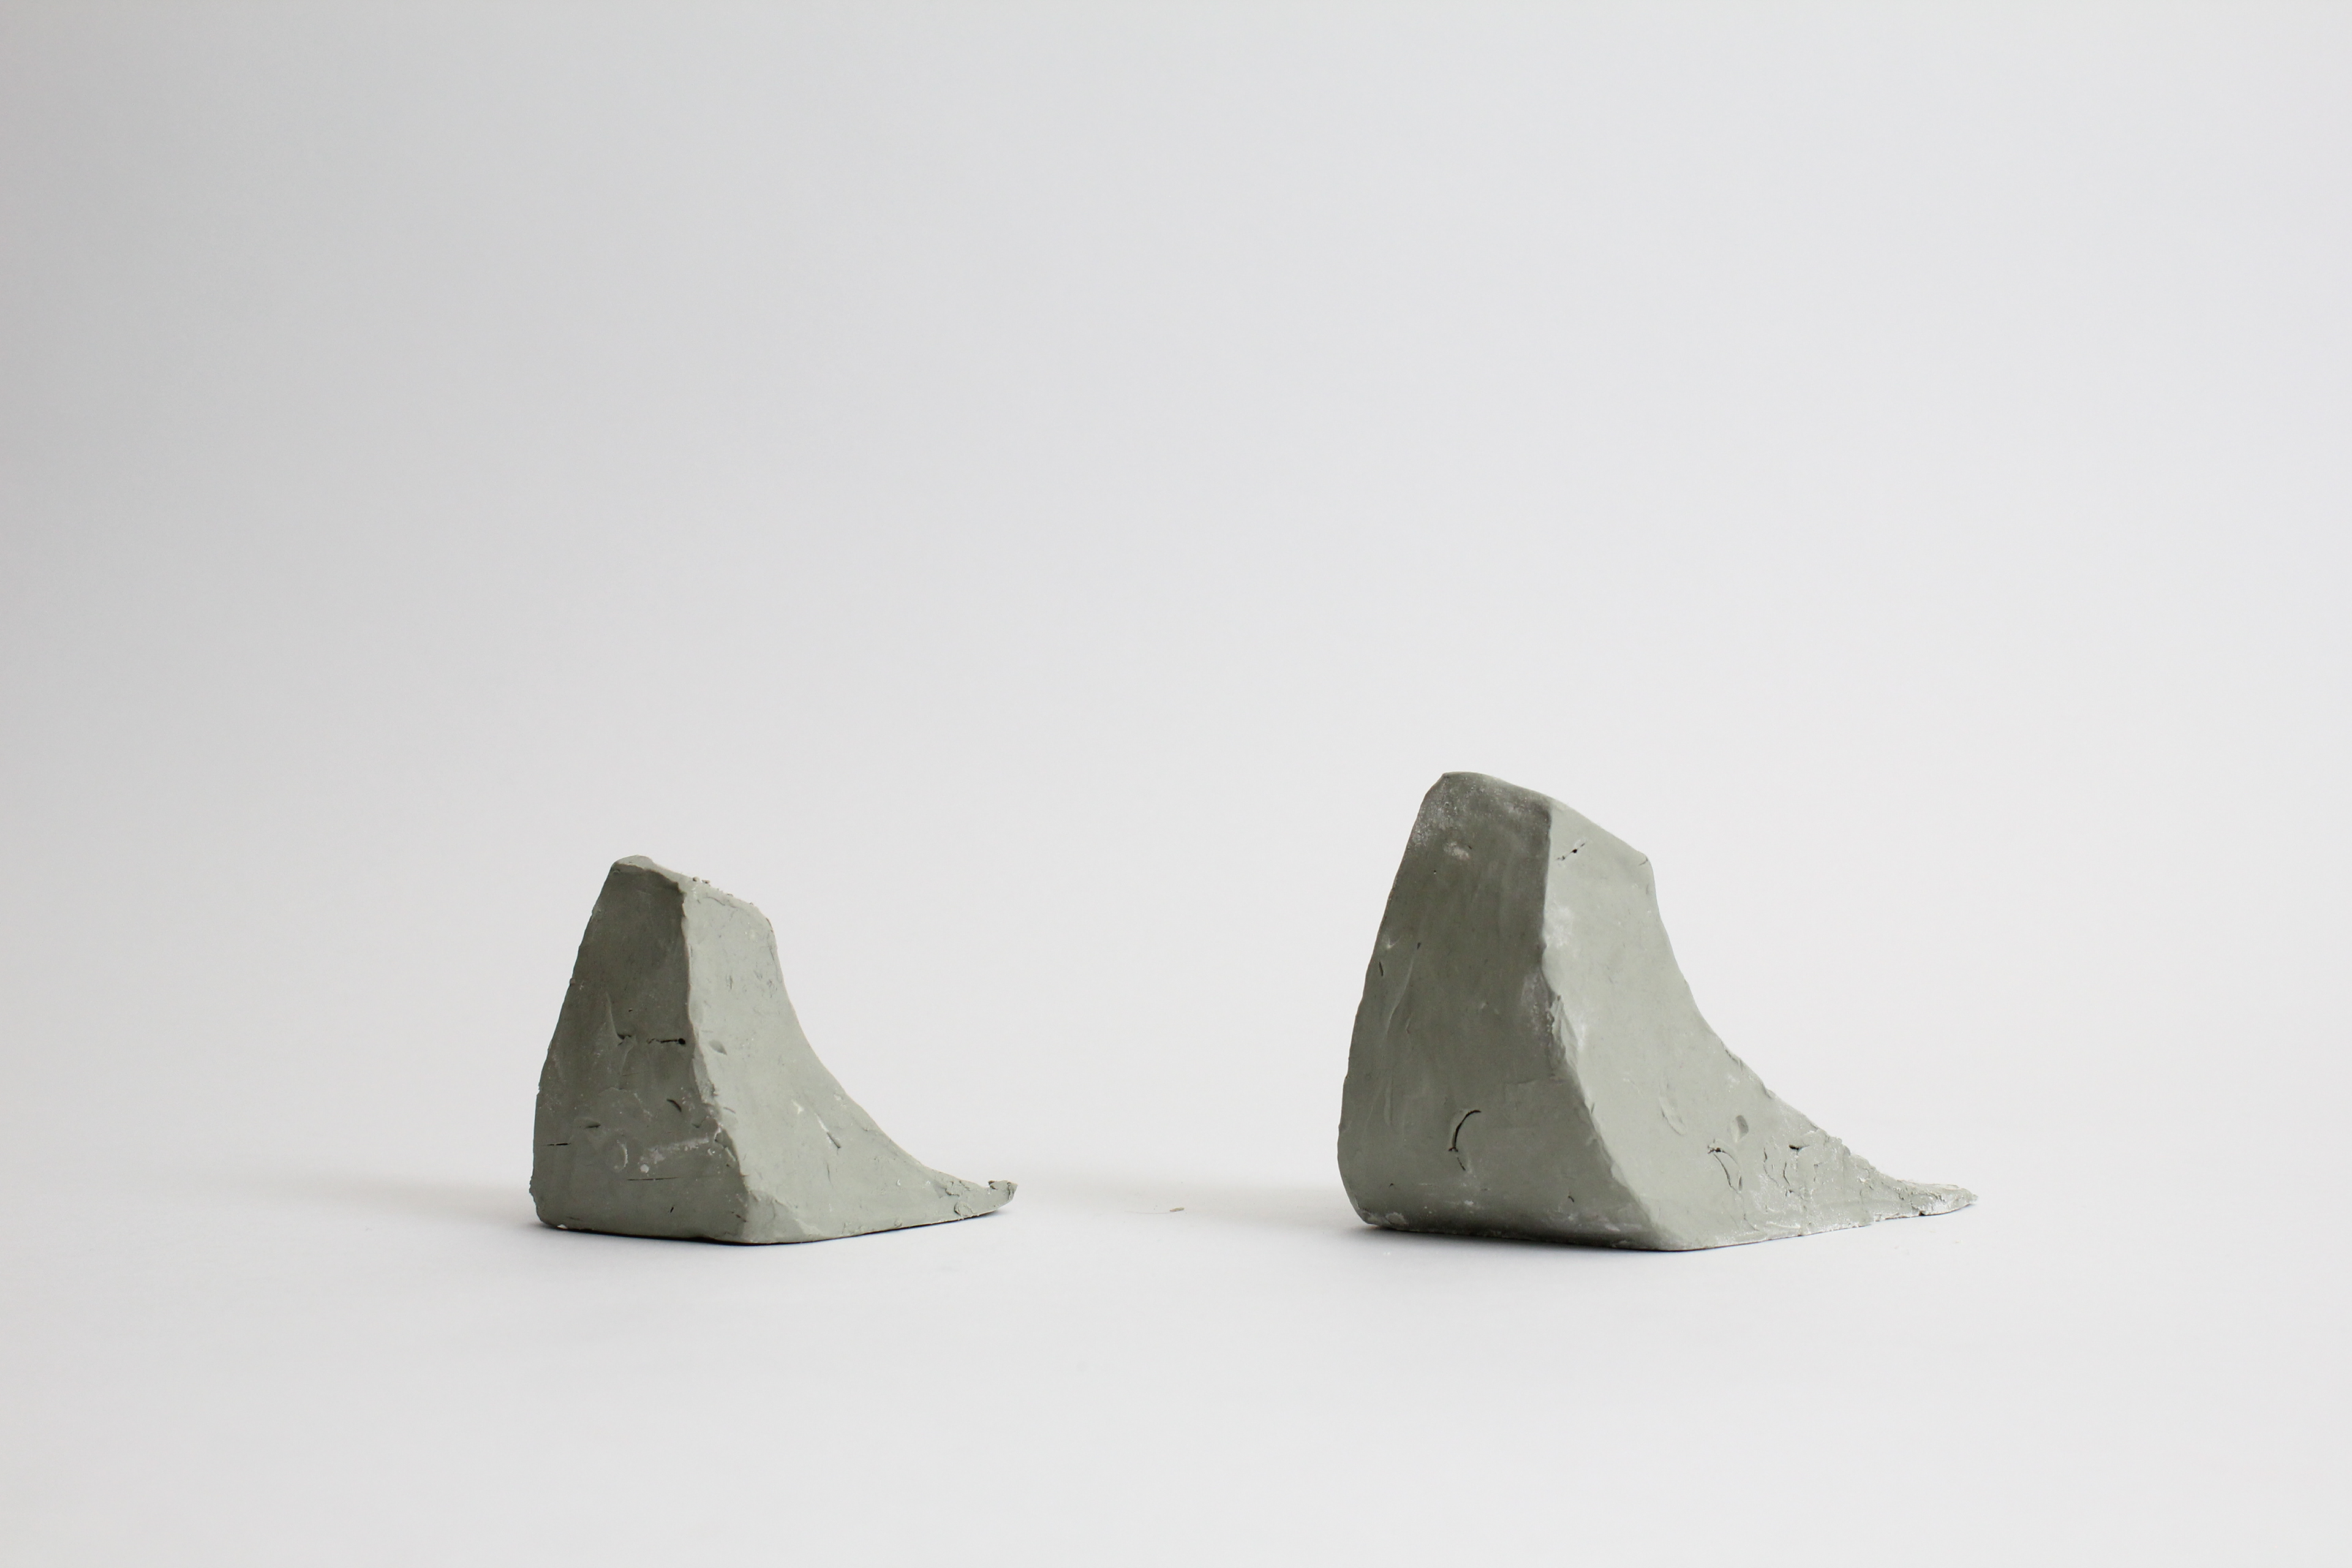
Tilted Axis
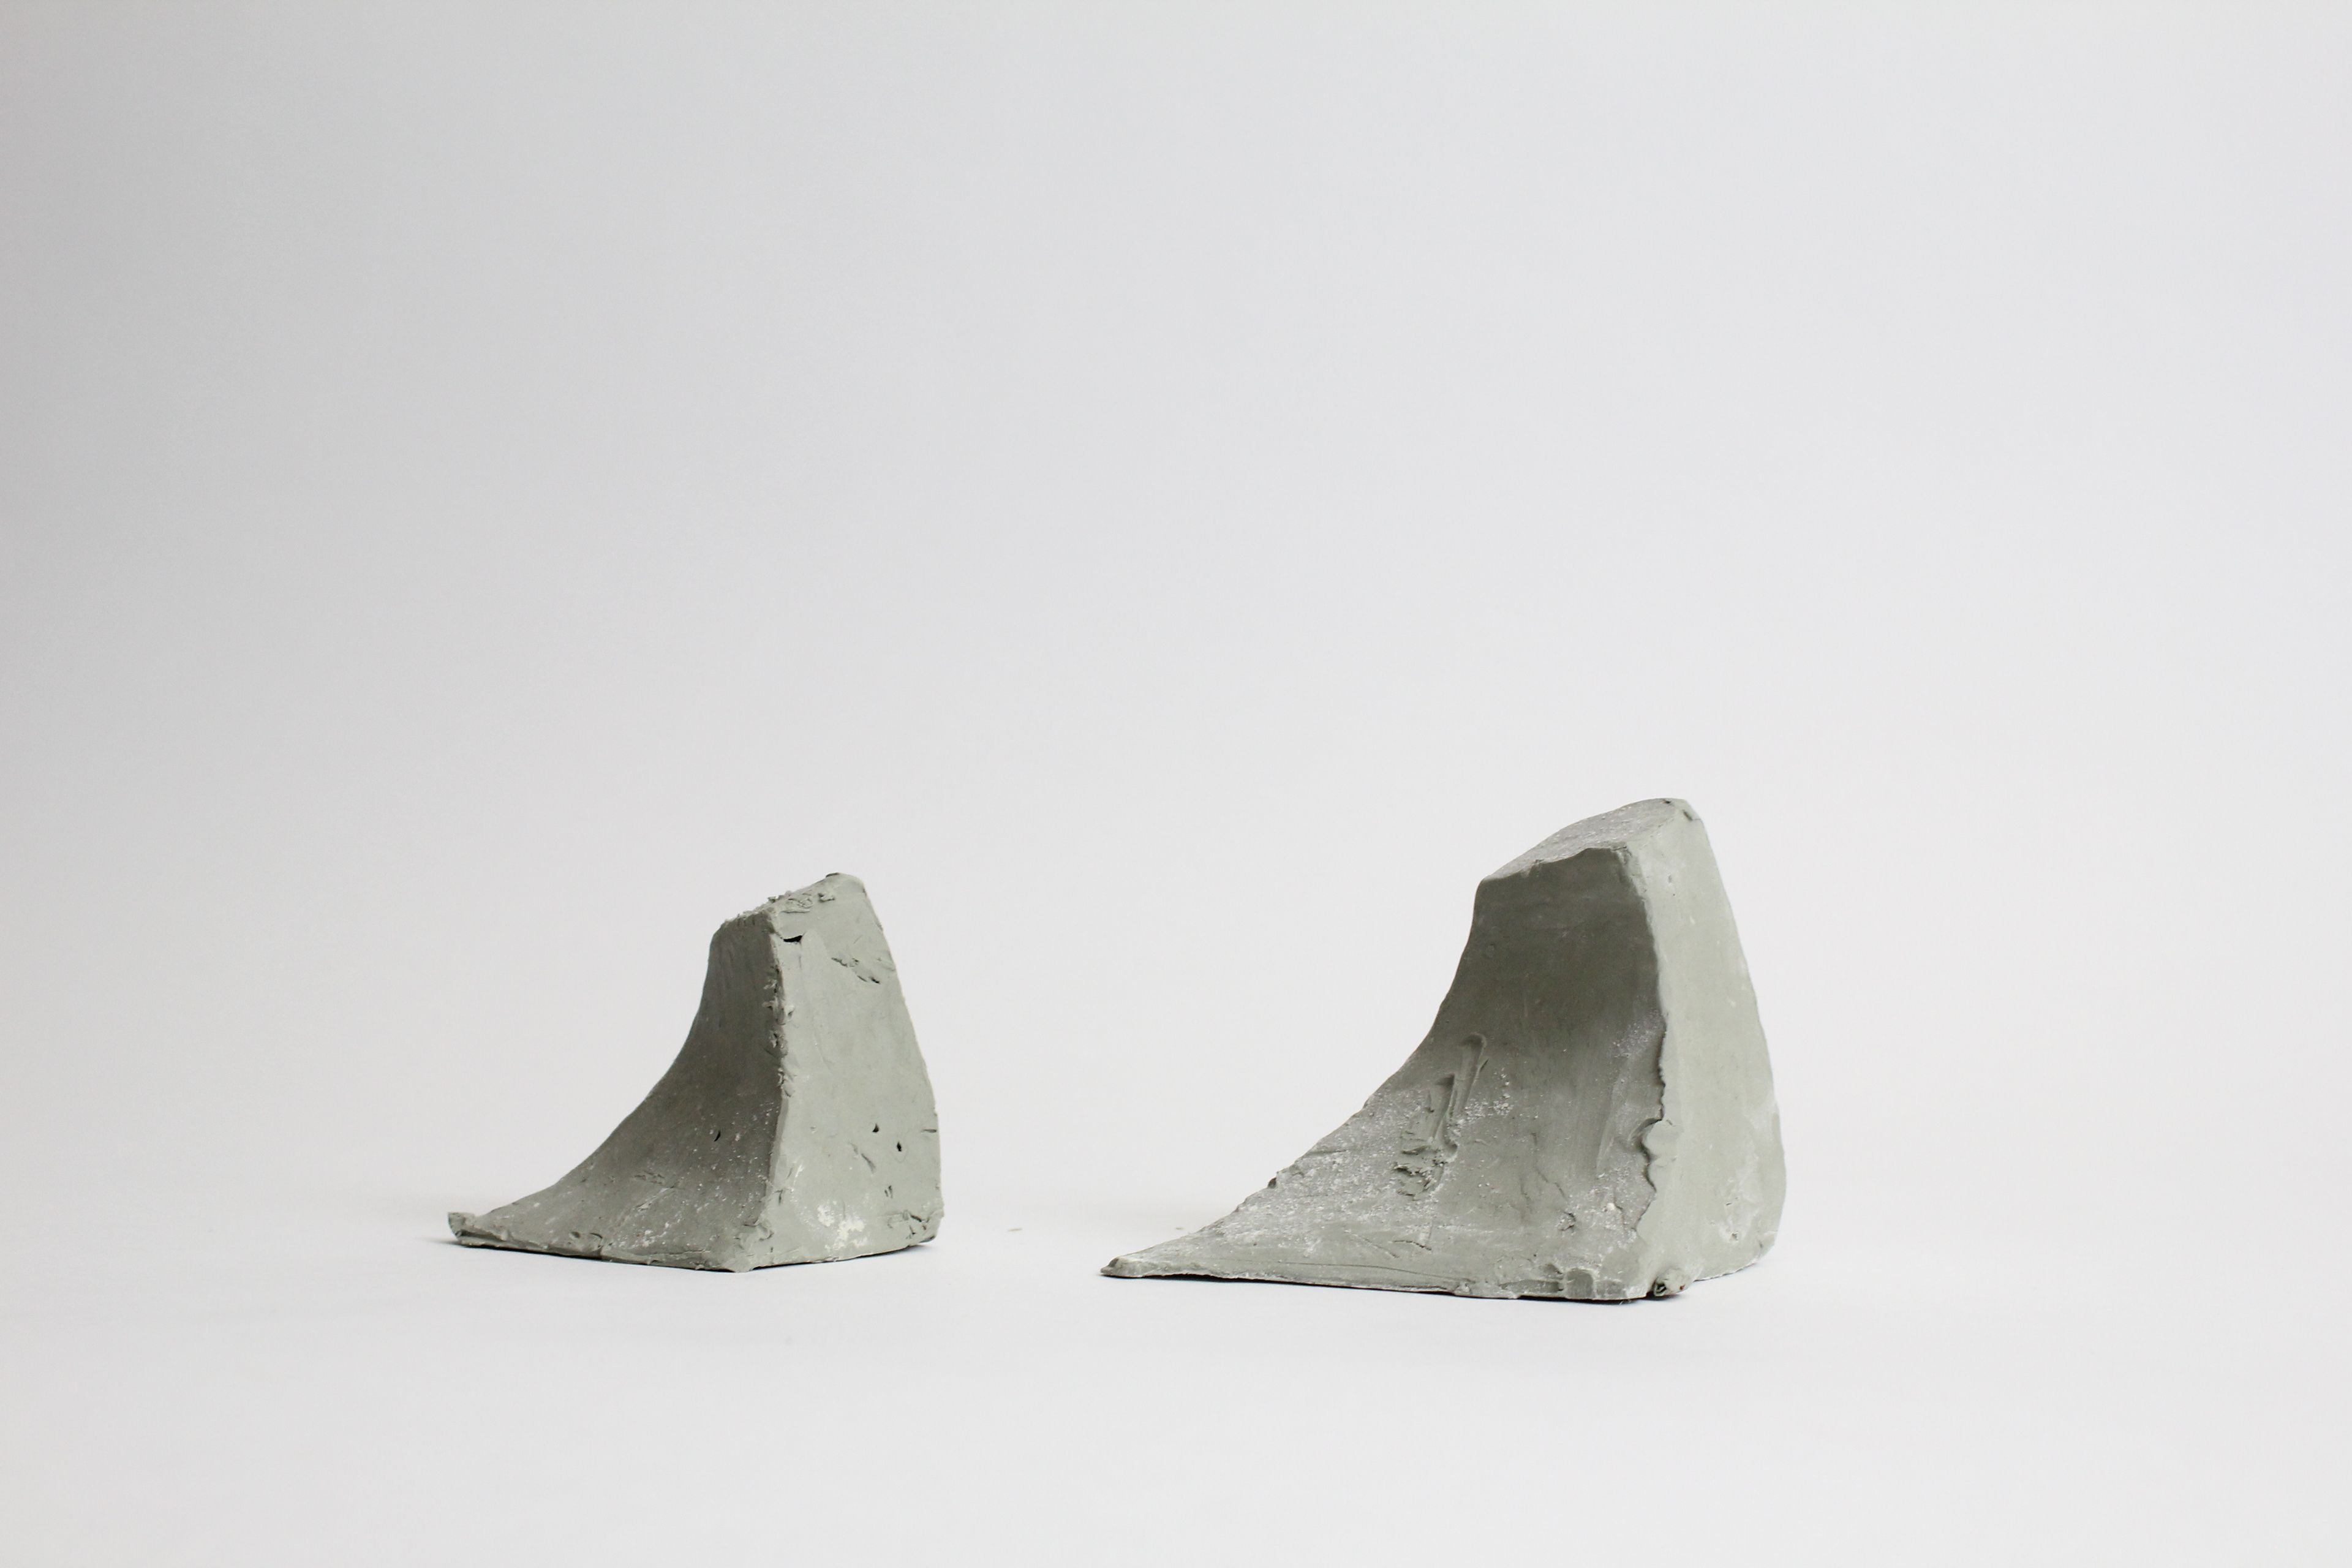
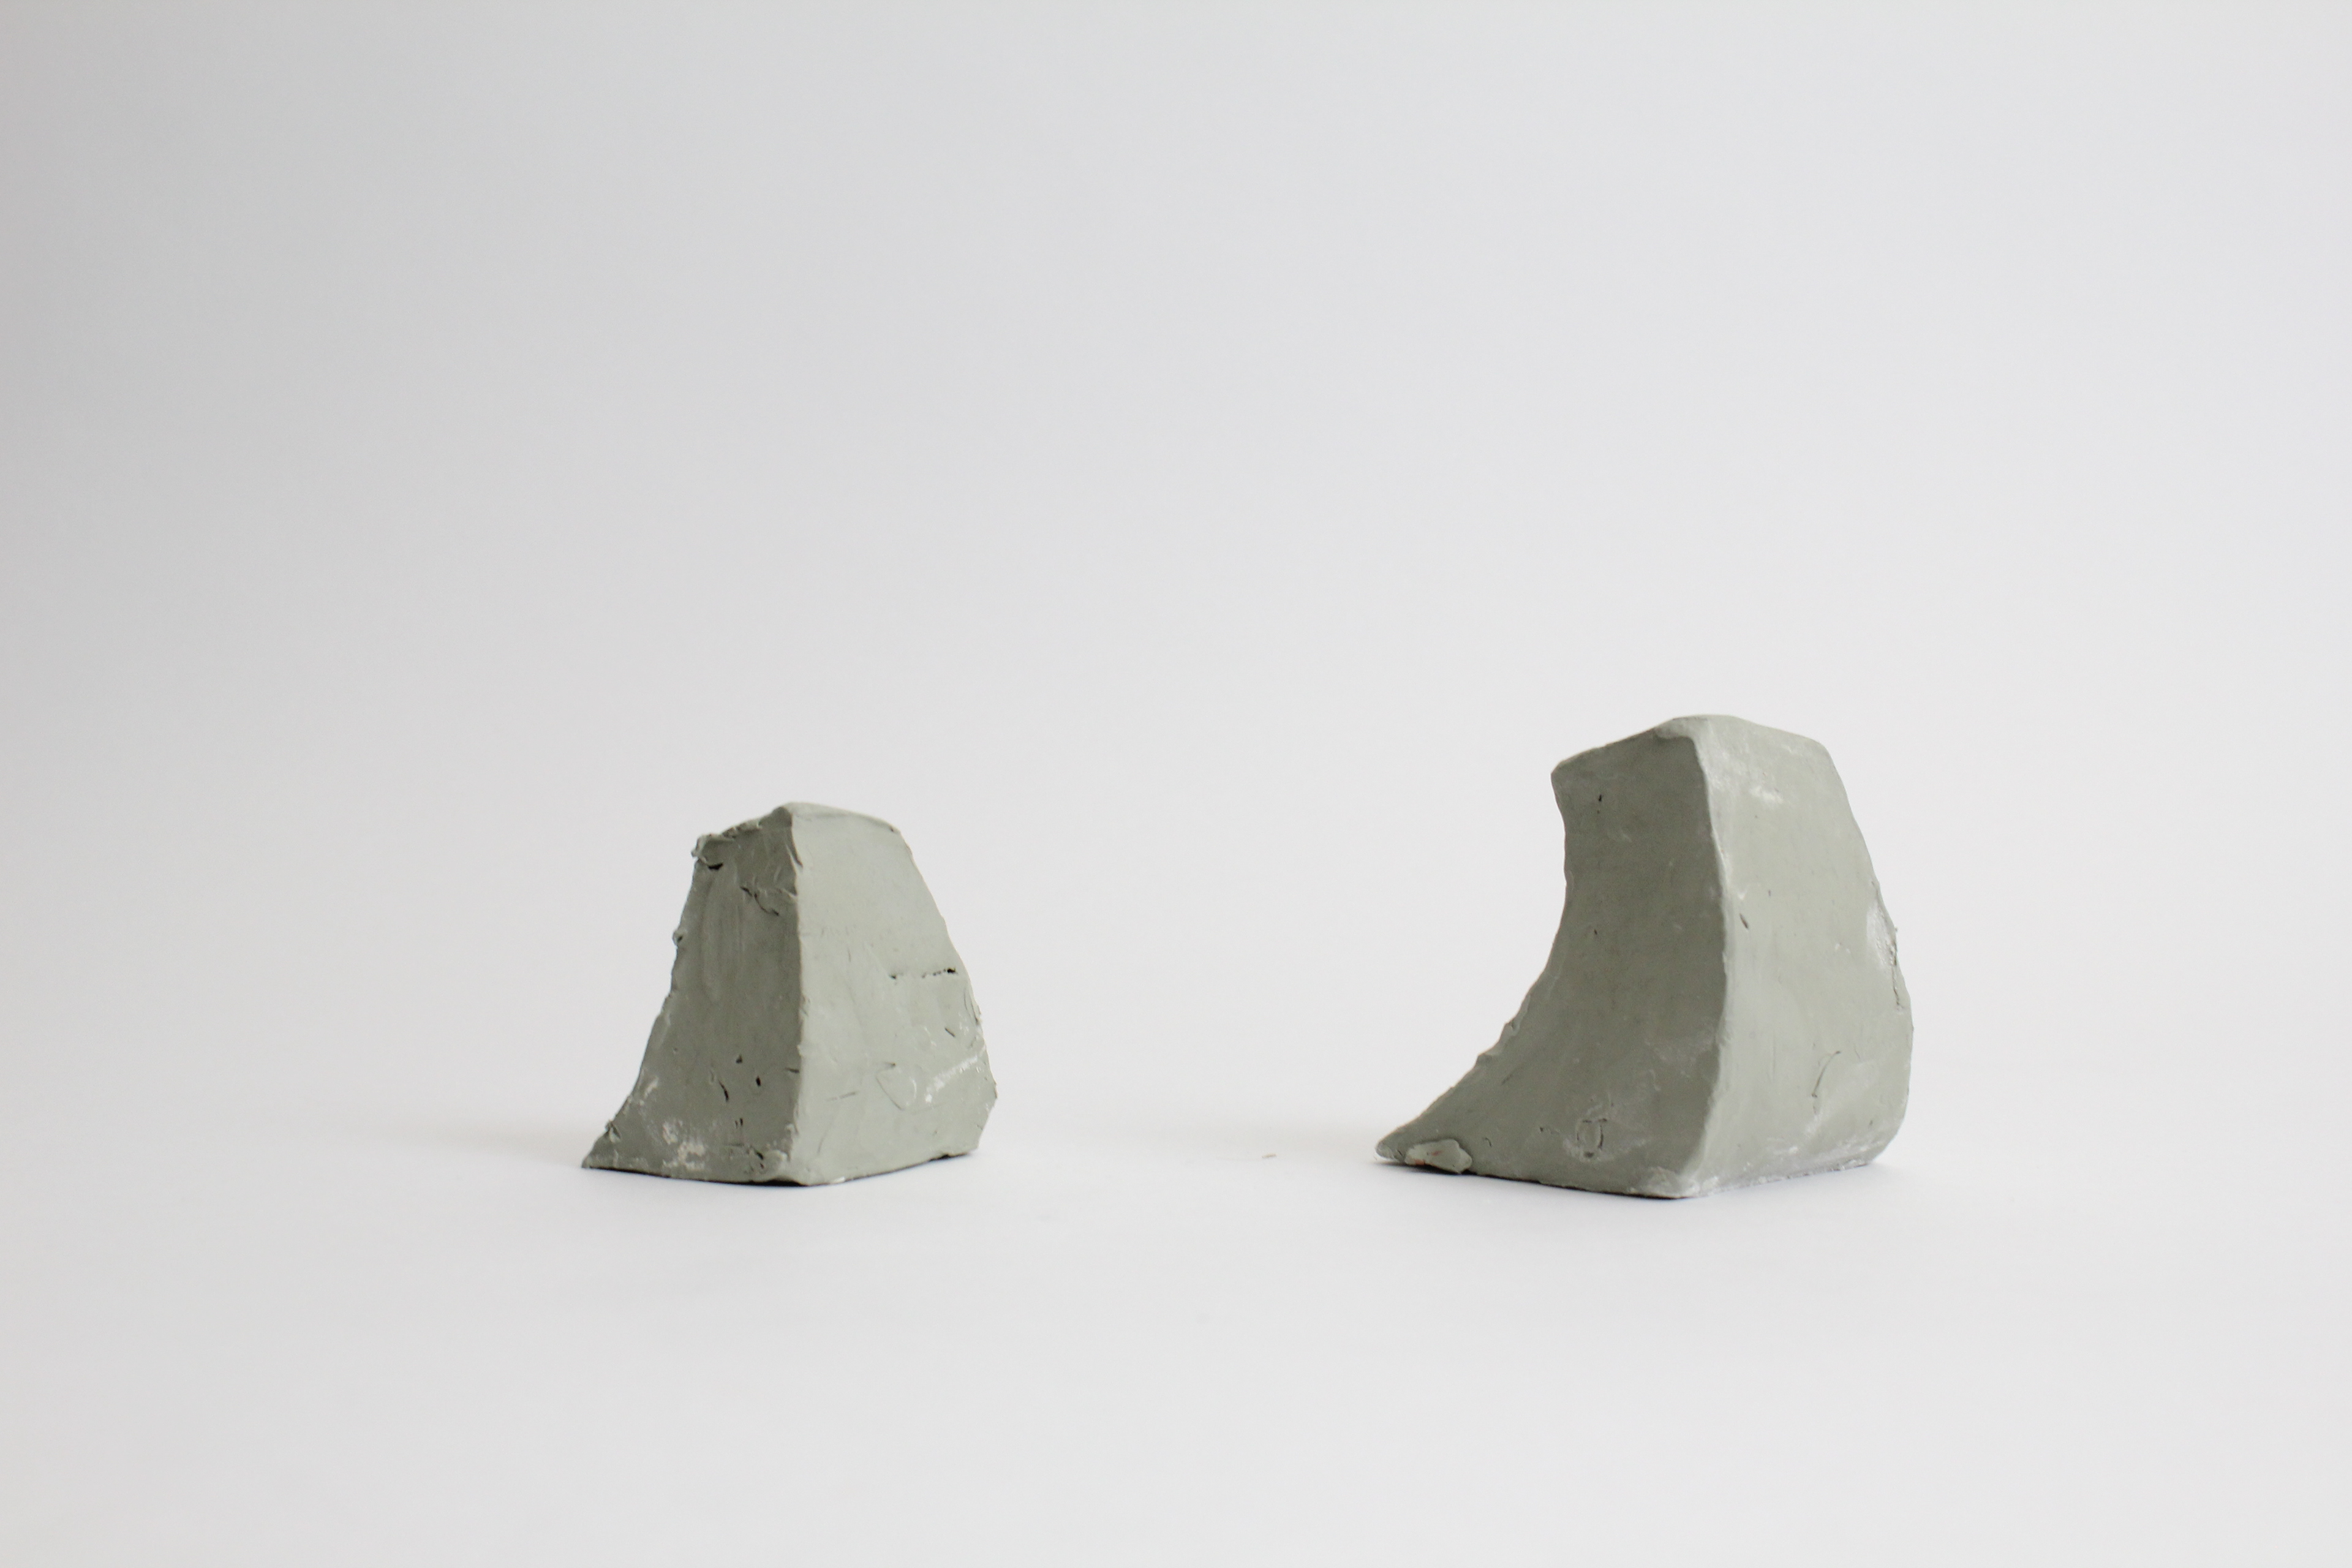
The goal of this exercise is to create a form with a tilted axis. To make it look more interesting, the axis is tilted in two directions instead of one so that it looks more dynamic. It is important that the axis is not tilted too much so that it looks like the form is falling down. The form is also tapered to make it more compelling visually. Right angles are avoided to prevent making the form look static.

final plaster model

drafting


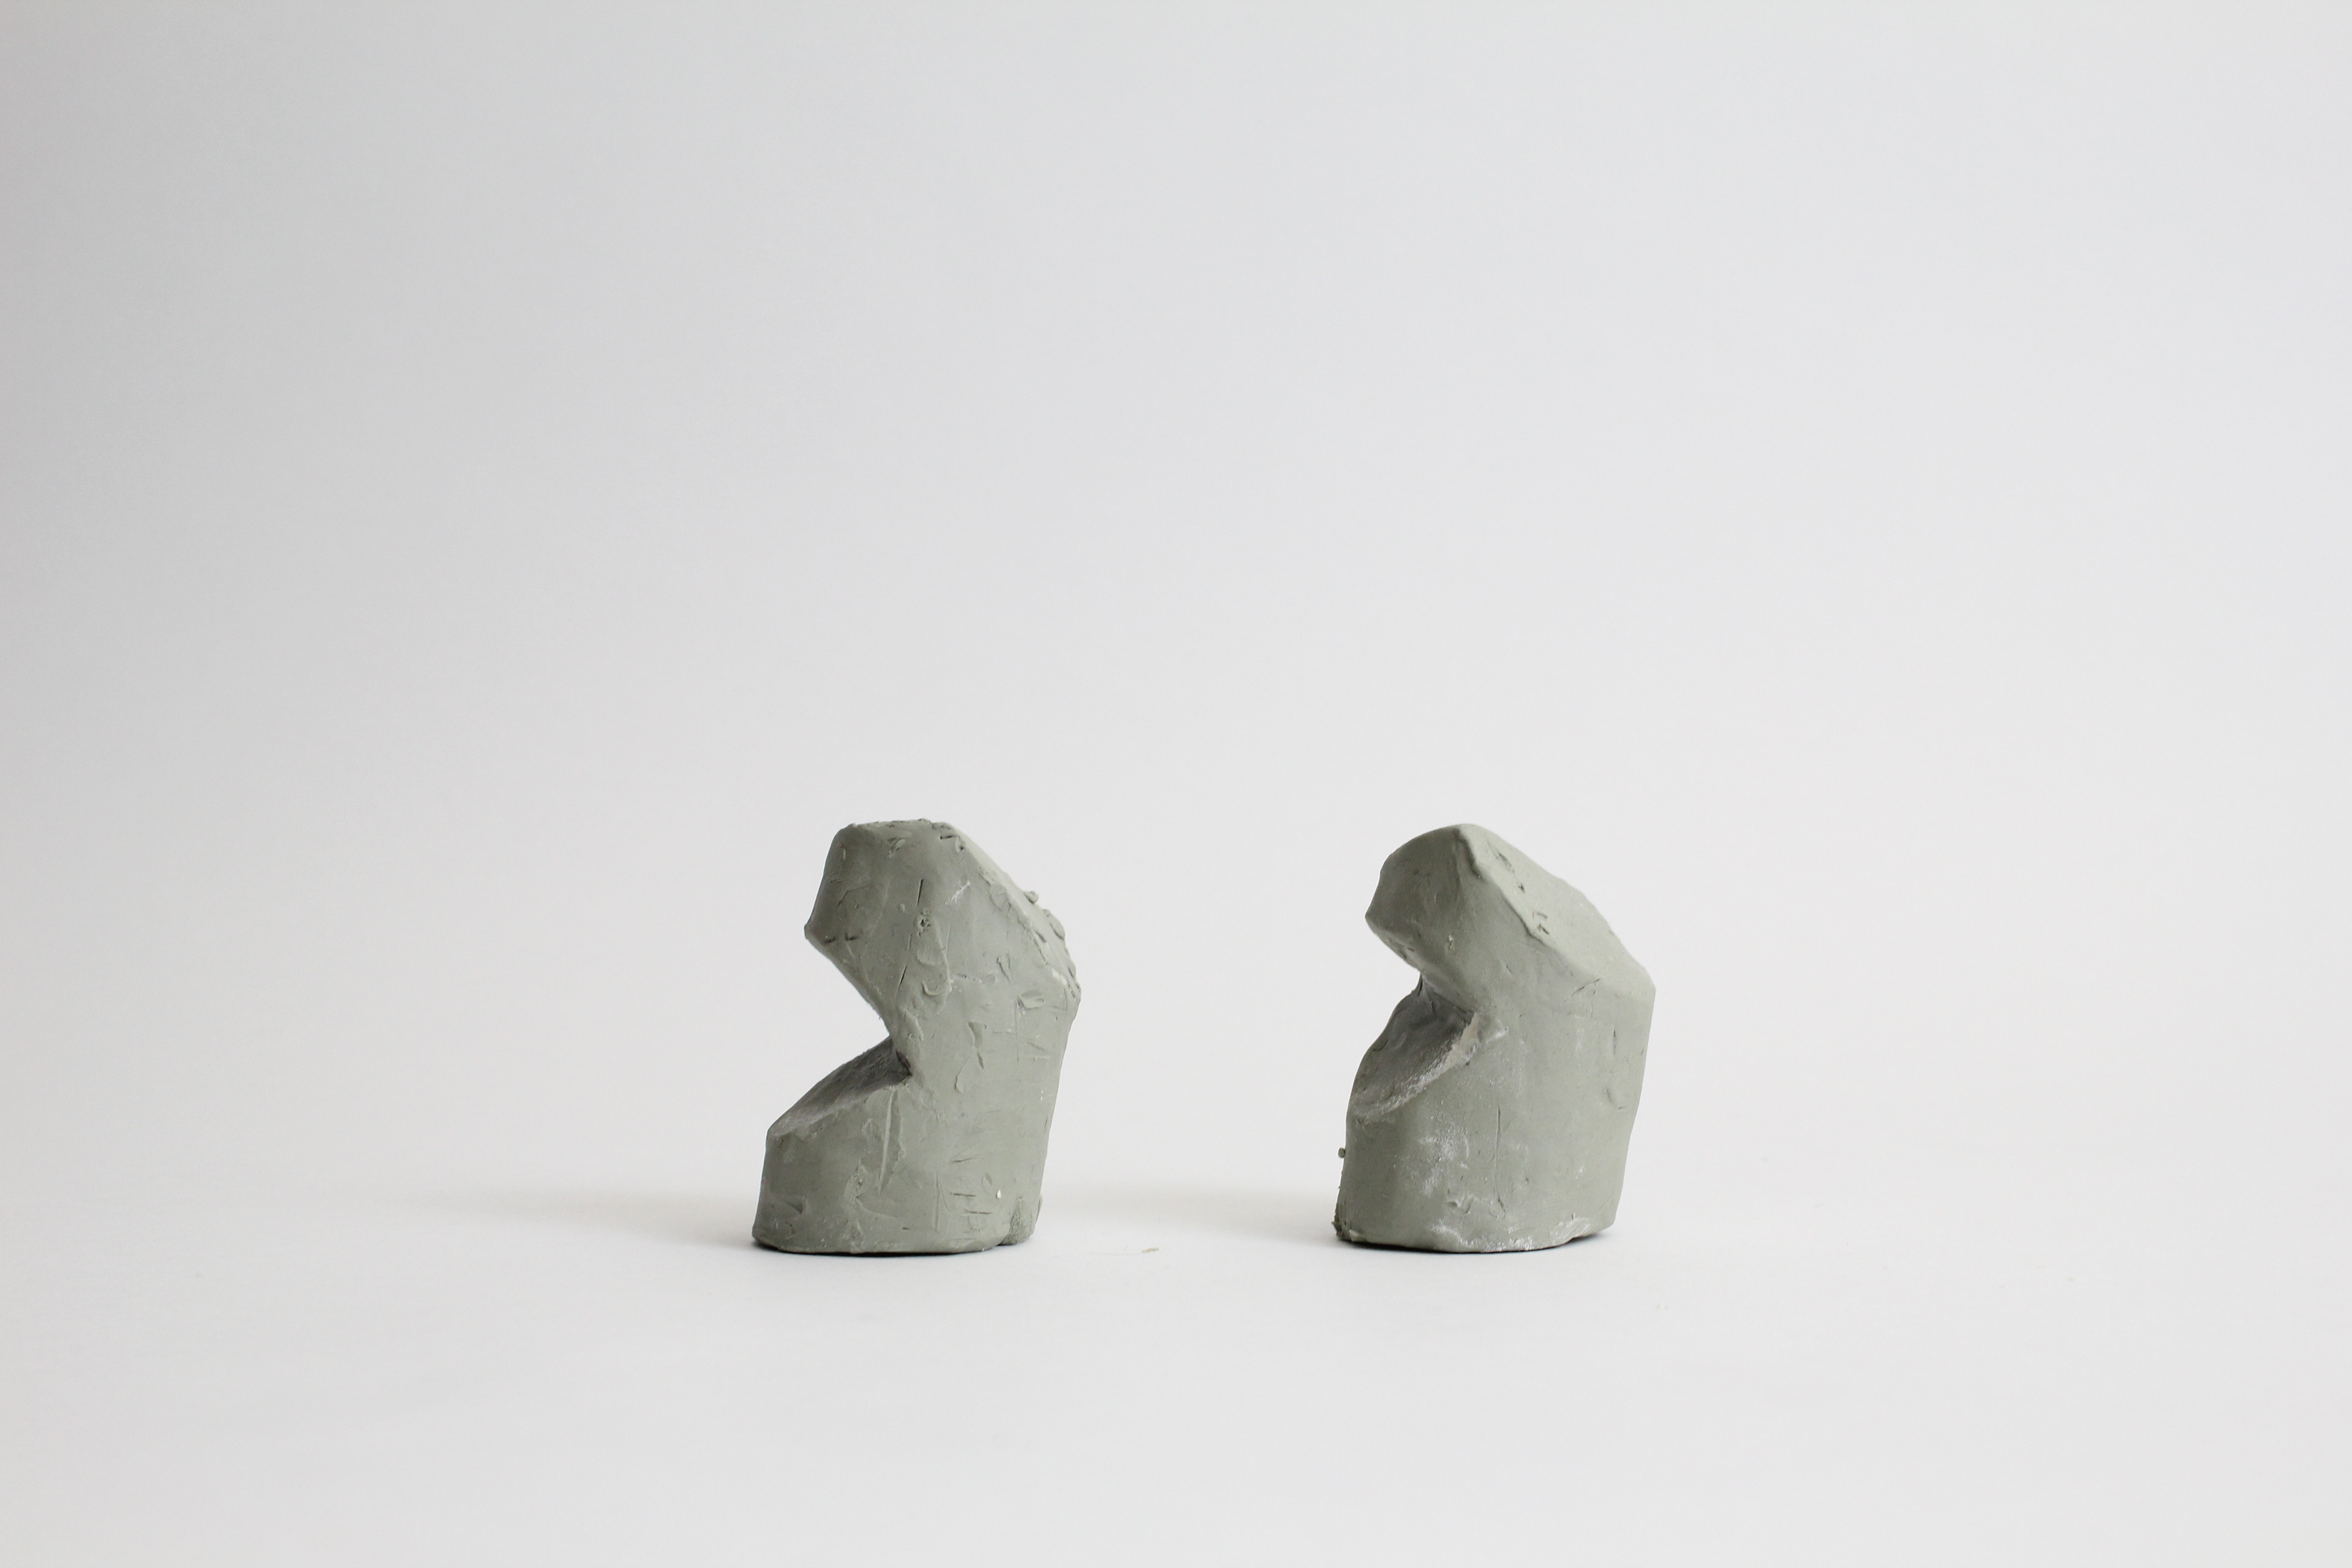
Bent Axis
The goal of this exercise is to create a bent axis in a cylinder. This is done by cutting away at the form. In order to create a form that is visually compelling, it is important that the proportions are varied and no cut is parallel to another. The top and bottom of the cylinder is cut at an angle to tilt the axis and therefore add emphasis to the bend. The cuts have to be done in moderation to avoid making the cut visually distracting from the axis of the form. It has to be made to enhance the visual interest of the form as a whole, not to take the attention away from the form.
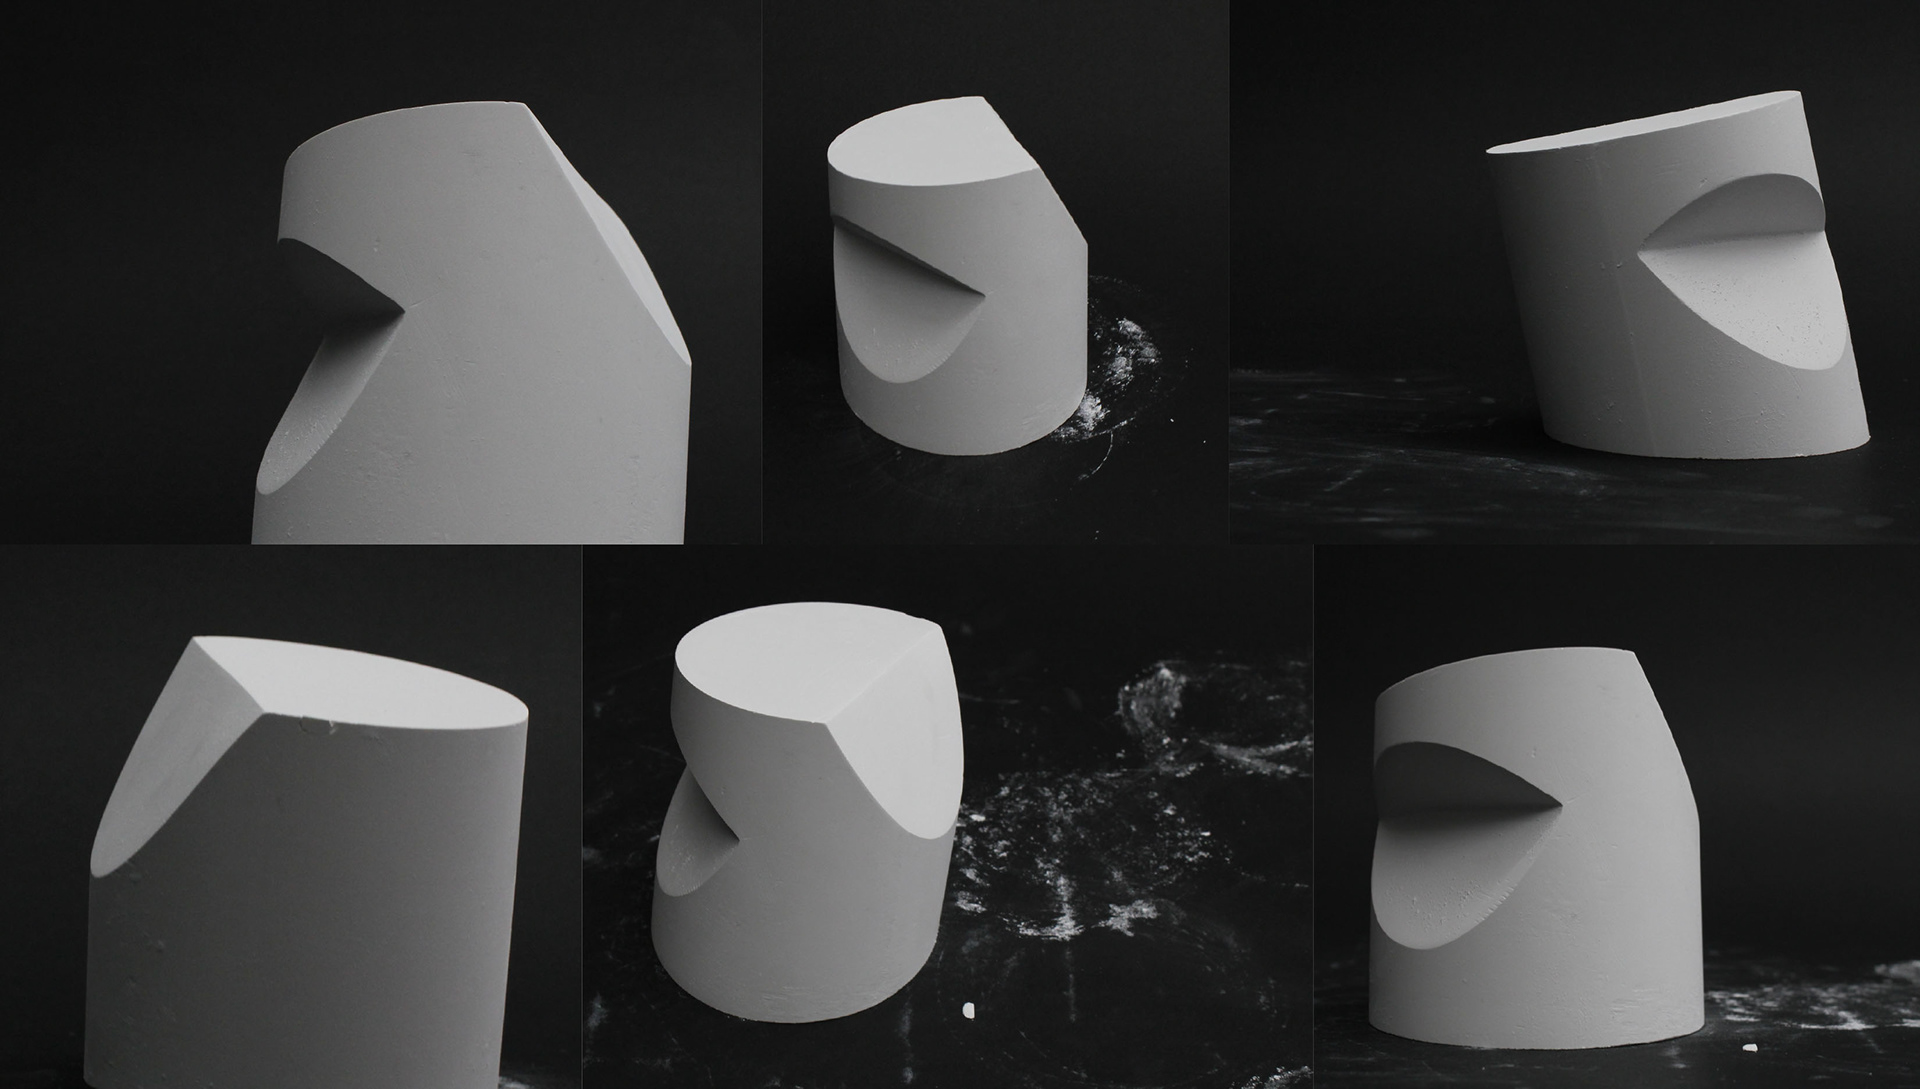
final plaster model
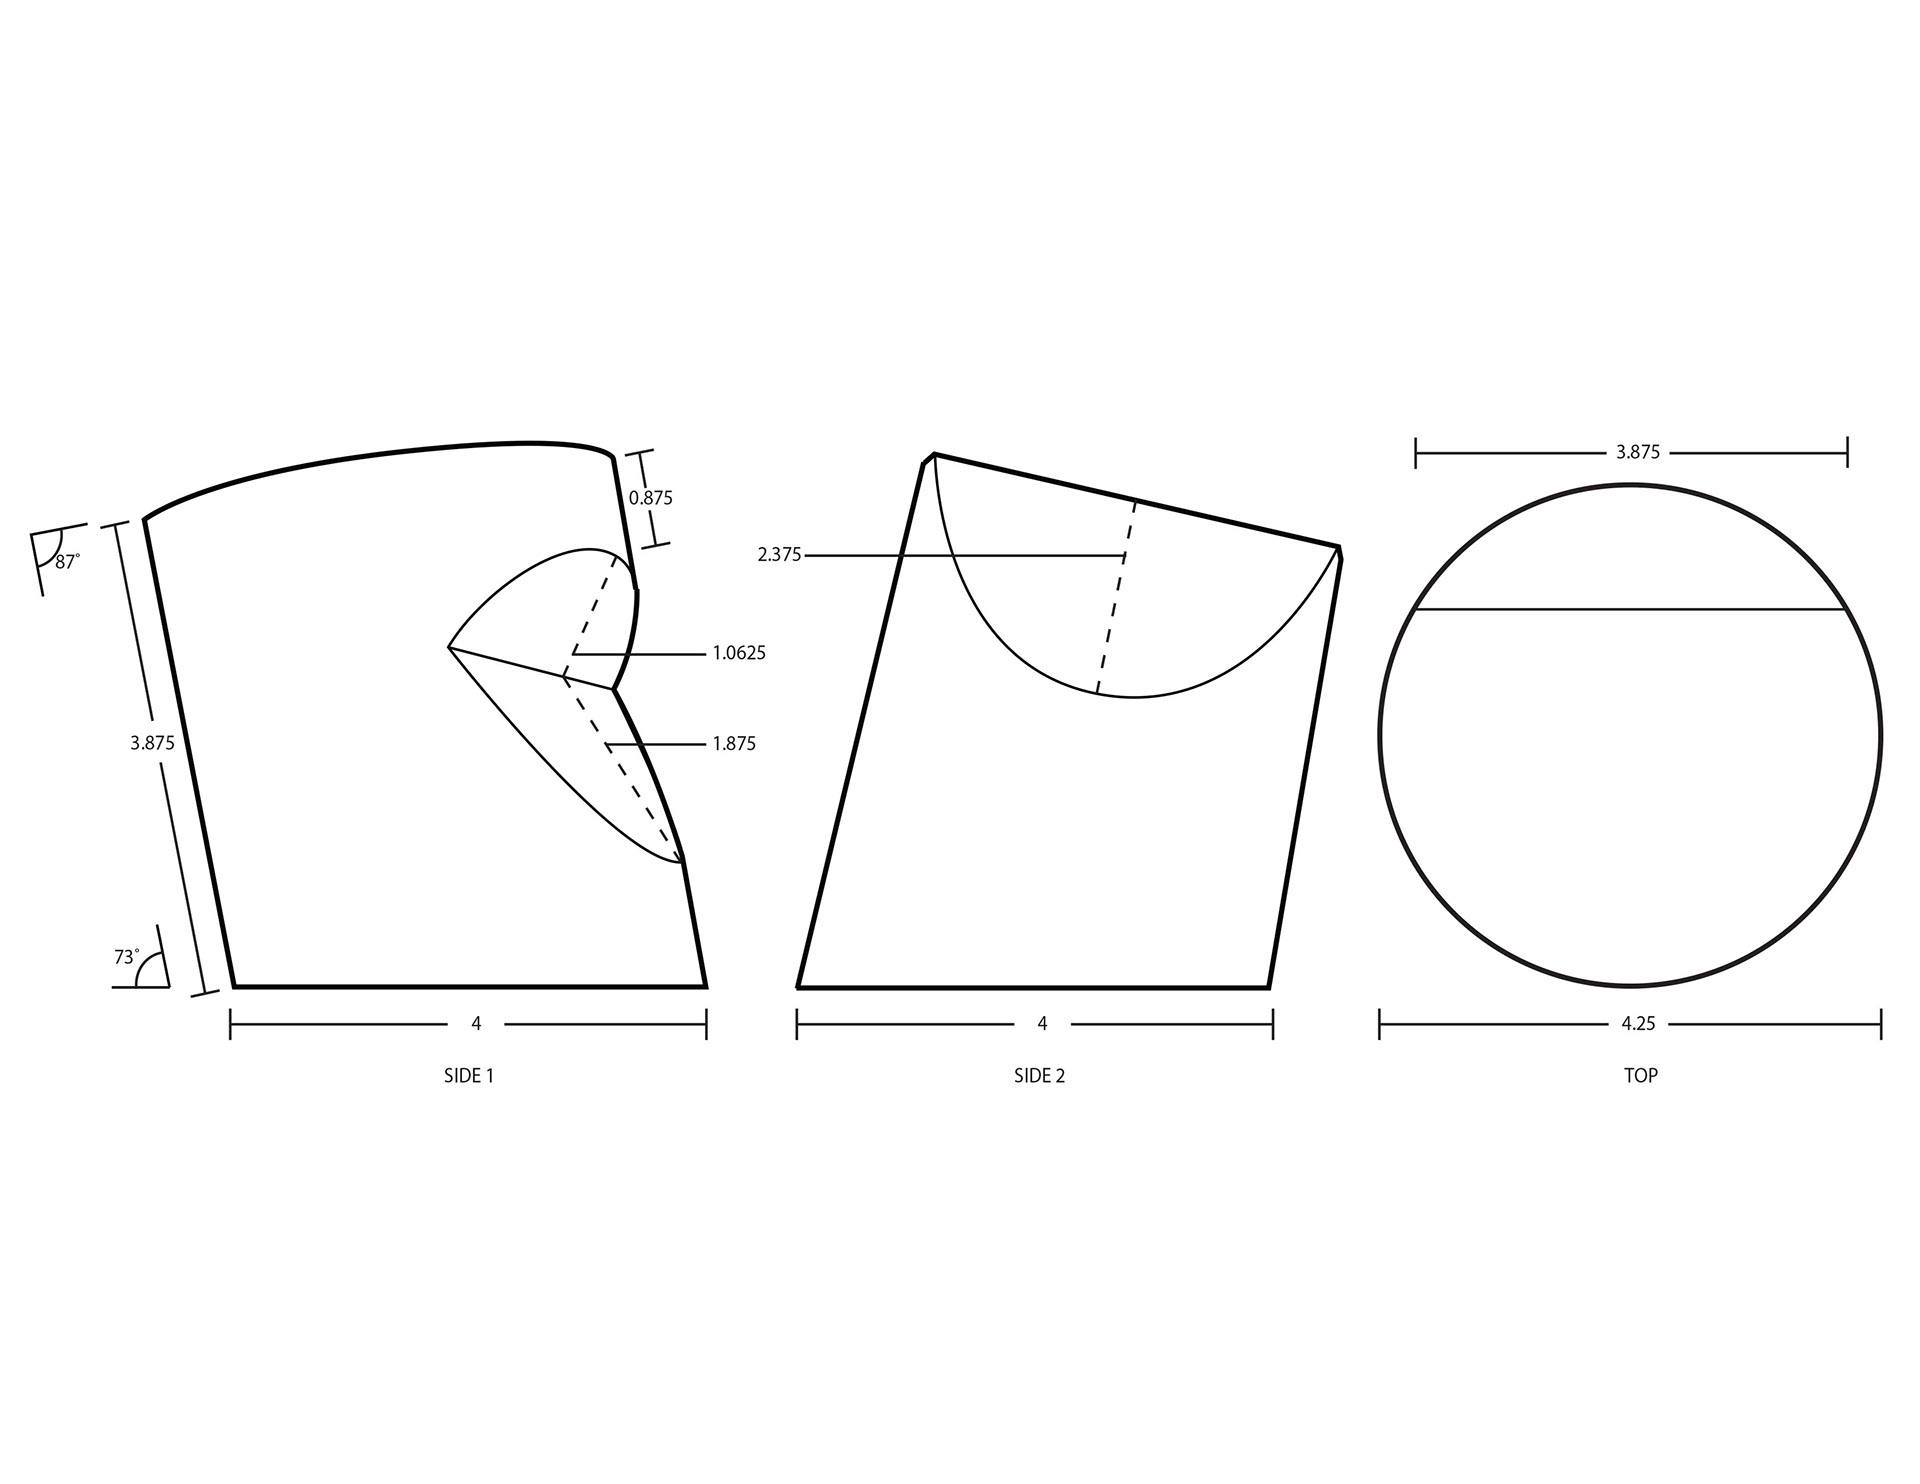
drafting
Curved Axis
The goal of this exercise is to create a form with a curved axis. The two sides are kept flat while the front and back are curved. The curves that are used on the front of the form has to be sympathetic to the curves used on the back, creating the visual effect of the mass of the form being pushed and curving as a result. A twist is also added to make the form more intriguing. It is best if the curves that are used are all different to create variations.
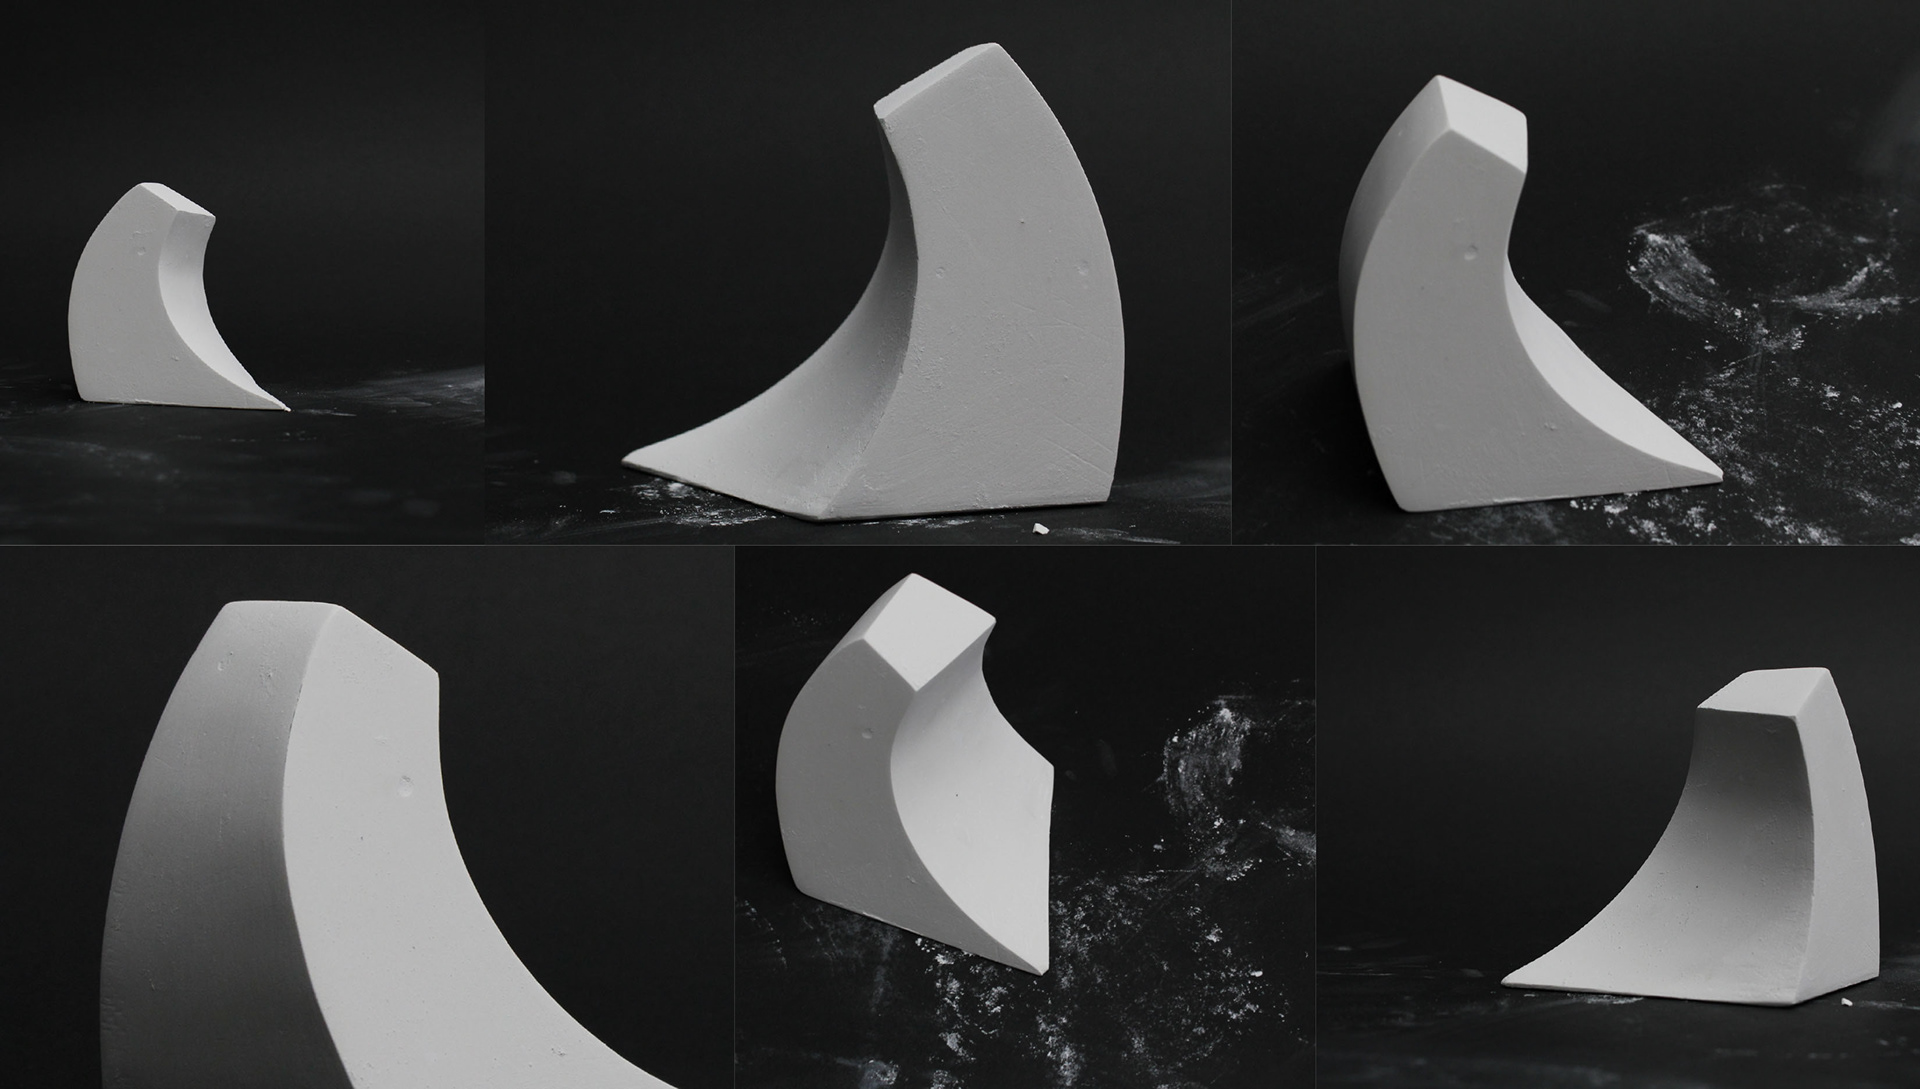
final plaster model
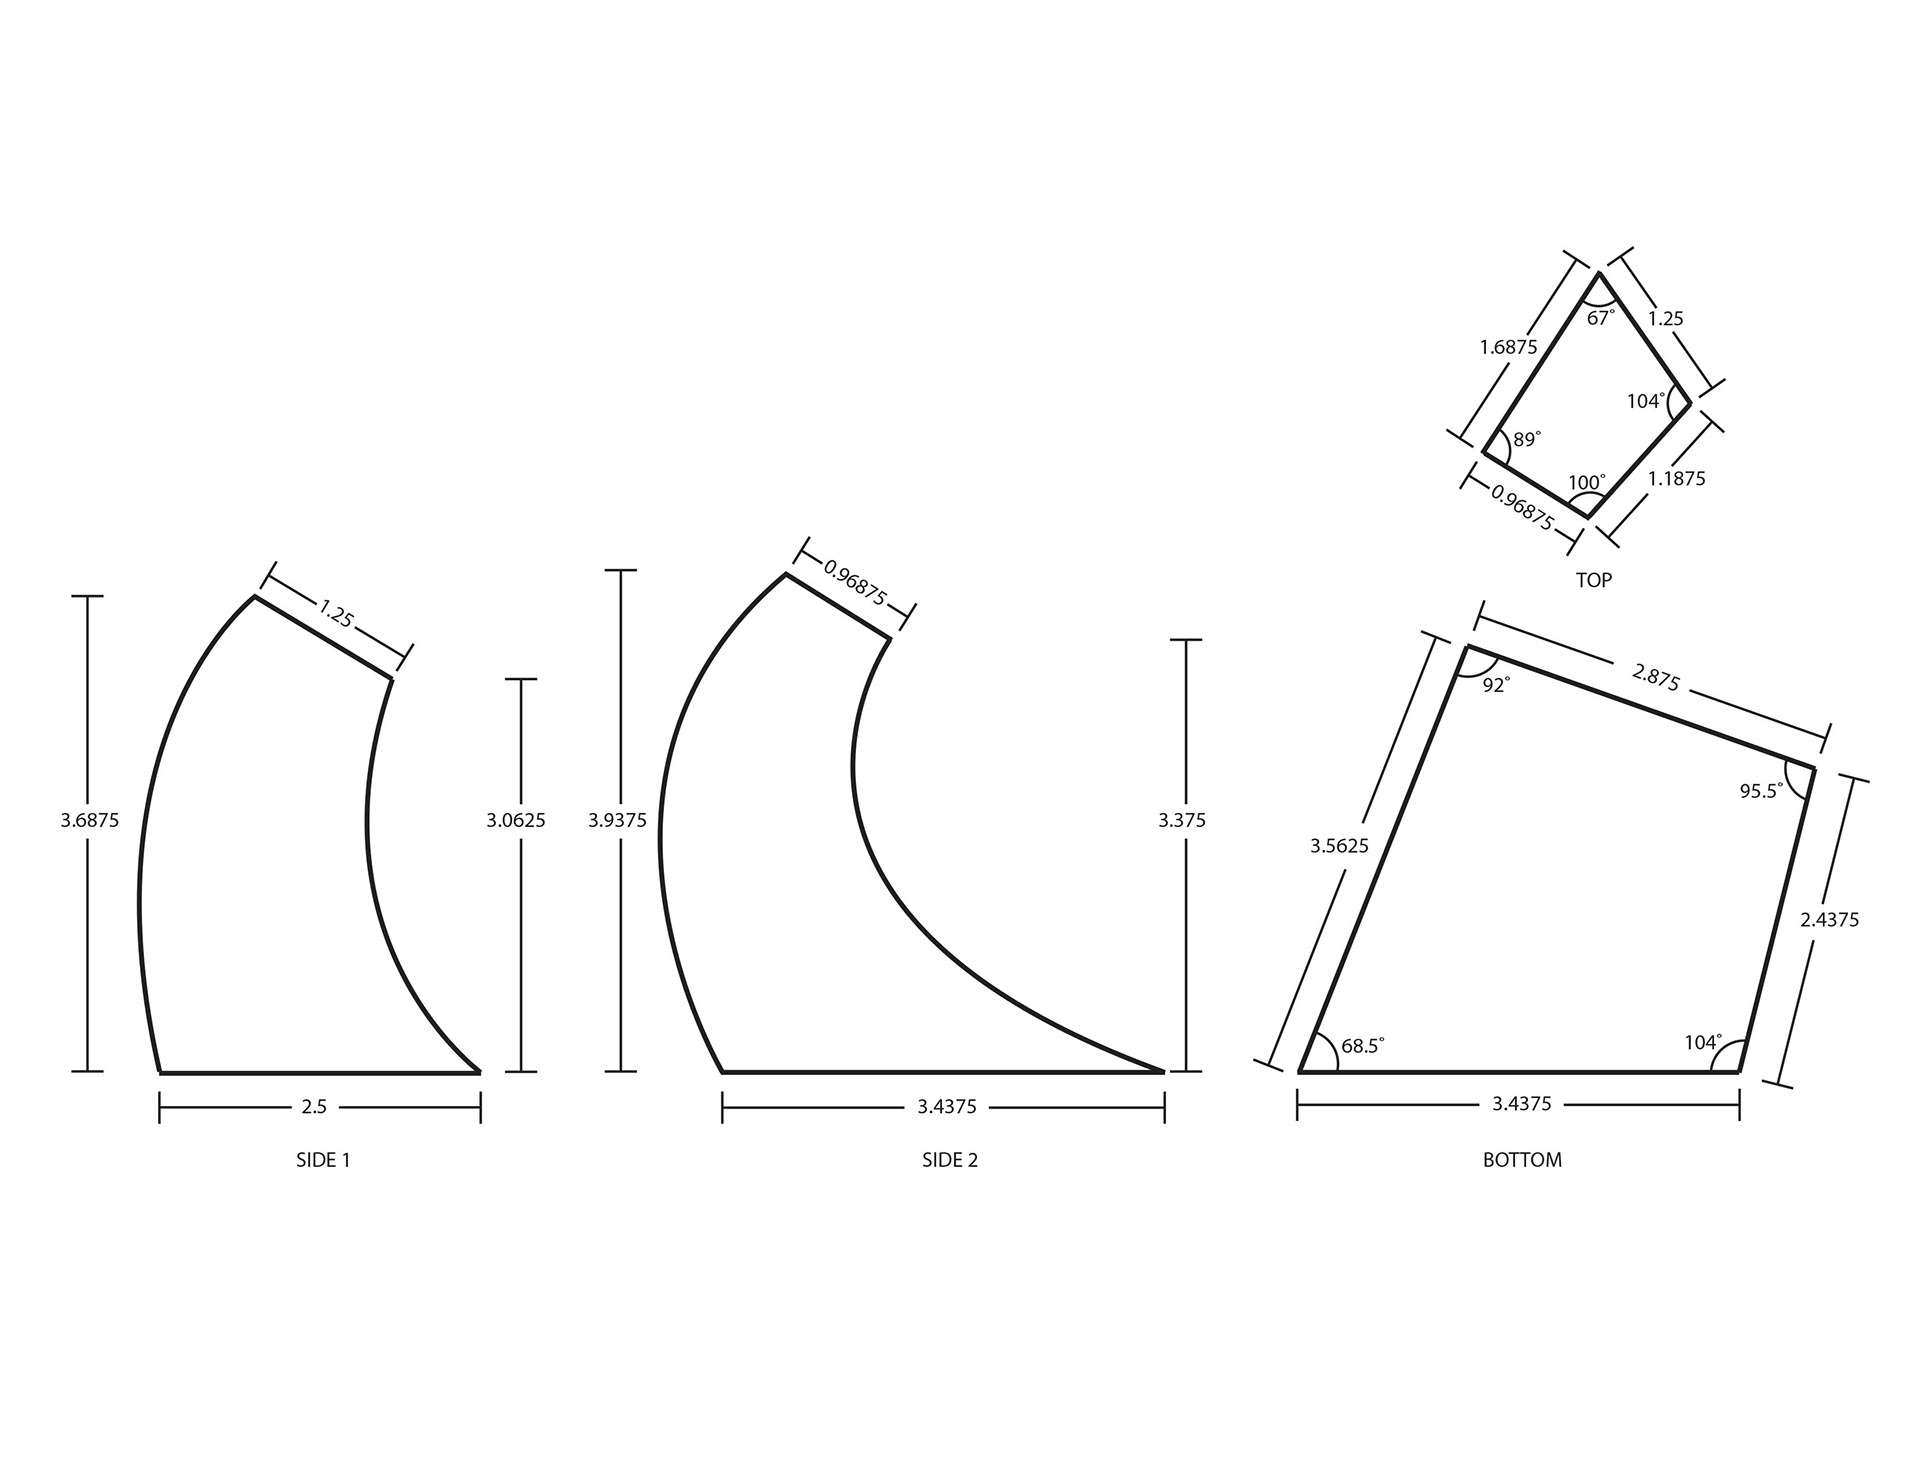
drafting